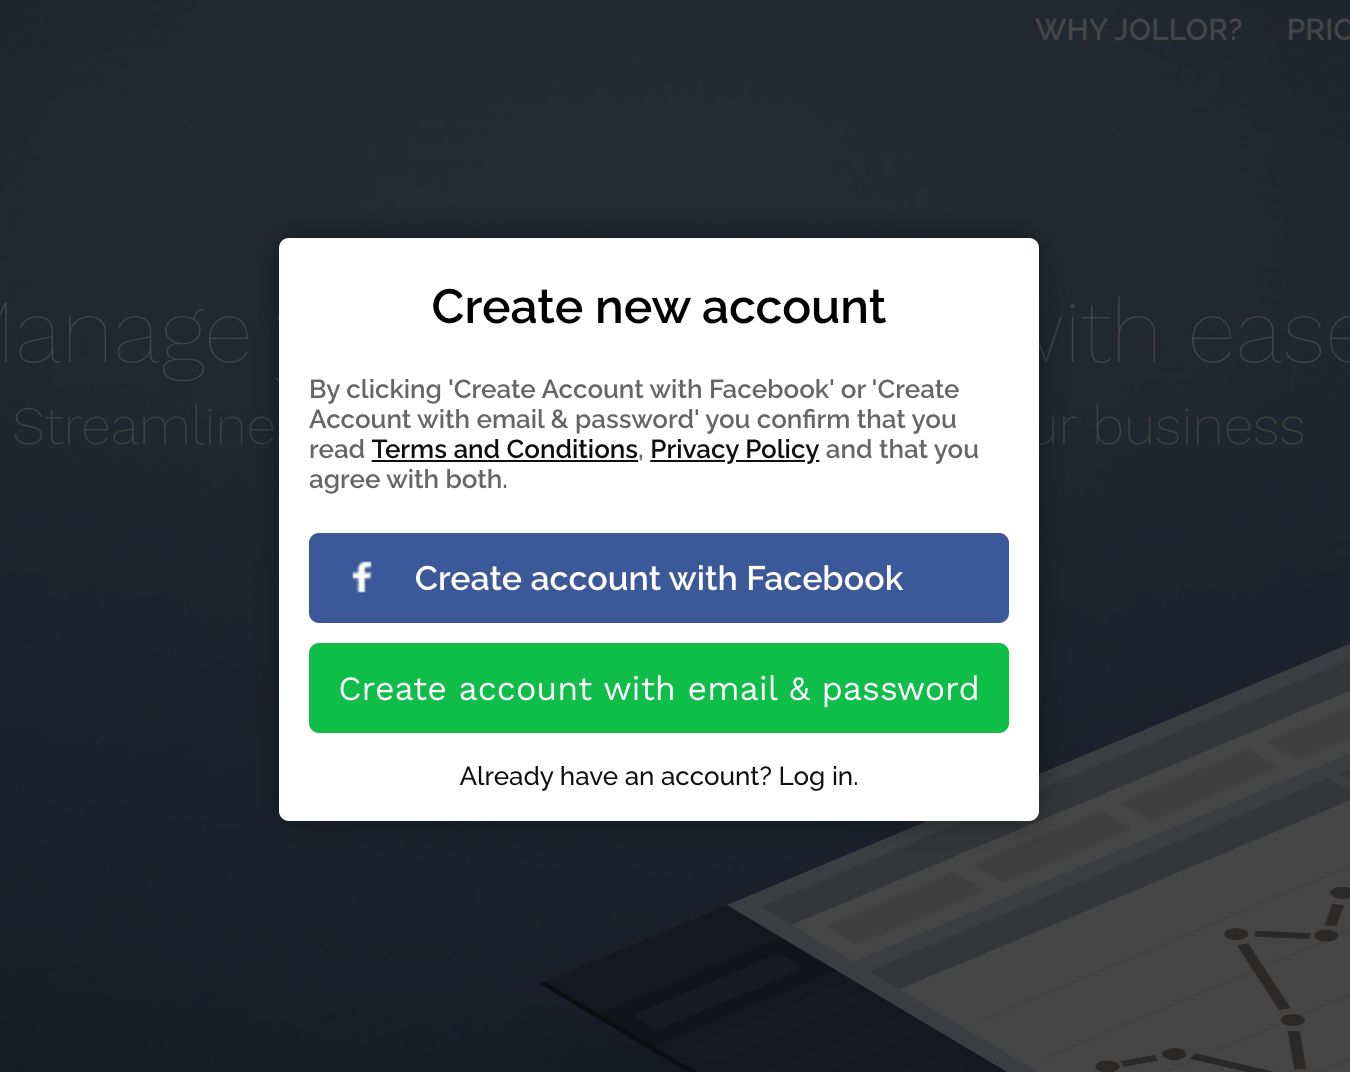
 Create account
Table of contents:
API Reference
The following sections will help you guide through the first steps with Jollor API. If you are looking for a full REST API documentation, see our API Reference↗.
What the API can do
This REST API is designed to manage and interact with posts and messages from social networks. It allows for the retrieval of conversation threads and individual messages within a project, as well as the sending of replies to these messages. It also supports replying to posts from social networks. In addition, the API can render the HTML representation of a message or a post, which can be useful for displaying content in your own tool easily. The API also includes endpoints for managing agencies, projects, and project webhooks, which can be used to integrate with external services or trigger events based on activity within a project. Furthermore, the API provides endpoints for user information and media management within a project.
Requirements
- Jollor account (login and password)
- A project with connected social profile (Facebook, Instagram, etc.)
- Client ID and Client Secret
Creating Jollor Account
Register a new account if you don't have any. An onboarding interface will be shown. Connect social profiles that you are going to manage with the API. Once finished, you will have a Jollor user, an agency and a project with connected social profiles.

Obtaining Client ID and Client Secret
To obtain Client ID and Client Secret, you need drop us an email at info@jollor.com. Please, provide us with your project id and a brief description of your project. We will get back to you with your credentials.
Finding out your project id
When you are in Jollor Dashboard, you can find your project id in the URL. Open your project and the url
will look like this:
https://app.jollor.com/projects/63051254ac394cf99d1a6d9d.
Project id is in this case: 63051254ac394cf99d1a6d9d
Authentication
There are two authentication levels in Jollor API. The first one is to manage an agency and the second one is to manage a project. To access agency resources (create projects, delete project), you need a user access_token. To access to project resources (list messages, send messages), you need a project access_token. The login and password used to authenticate are the same as for the Jollor Dashboard. If you are logging in using Facebook, you must create a password in Settings.
- You need to obtain a user access_token. You can do this by sending a POST request to https://auth.jollor.com/oauth2/token?grant_type=password. This request will generate you a pair of access_token and refresh_token. Try it.
- Using the user access_token, you can request project access_token. This project access token will allow accessing a single project. To do that, send a POST request to https://auth.jollor.com/oauth2/token?grant_type=token_exchange. You can try exchanging user access_token with project access_token in our API Explorer. Try it.
- Both token types have a short lifespan. They are currently valid for 1 hour. To obtain a fresh token, call a POST request to https://auth.jollor.com/oauth2/token?grant_type=refresh_token. You can try this request in our API Explorer. Try it.
Security considerations
Please note that the API authentication is meant to be done on a server side. This includes all calls to https://auth.jollor.com. If you need to use the API on a client side, call your own backend to obtain an access_token on a server side, and then you can use the token on a client side. Non-authentication calls to the API that can be used on both client and server side have the following base url: https://app.jollor.com/api.
Webhooks
Webhooks are a way to receive real-time notifications from Jollor. When an event occurs in Jollor, we'll call your endpoint with a POST request. You can use webhooks to trigger events in your own tool or to integrate with external services. You can create webhooks for a project in the Jollor Dashboard. The webhooks are project-specific, so you can have different webhooks for different projects. The webhooks are triggered by events in the project, such as new messages, new comments, new posts, etc. You can also specify the events that should trigger the webhook.
The webhooks are secured with a shared secret, so you can be sure that the request is coming from Jollor. The webhooks are sent as a POST request to the URL you specify. The request body contains the event data. The request query parameter challenge will contain the shared secret. You must compare the secret with the one you have in your database and return it in the response body to verify. You can use the event data to trigger events in your own tool or to integrate with external services. The webhooks are sent in real-time, so you can be sure that you'll receive the notifications as soon as the event occurs. You can create webhooks for a project in the Jollor Dashboard.
To create a webhook in Jollor, your endpoint must be able to handle both GET and POST requests. The GET request is used to verify the endpoint, and the POST request is used to send the event data. The endpoint must return a 200 OK response with the shared secret in body of the GET request to verify the endpoint. The endpoint must also return a 200 OK response with the shared secret in the body of the POST request to acknowledge that the event data has been received. If the endpoint does not return a 200 OK response in the GET request, the webhook will not be created. If the endpoint does not return a 200 OK response in the POST request, the webhook will be trying for the next 24 hours before being disabled.

Webhook events
| Event name | Event type | Description |
|---|---|---|
| Post received ↓ | post_received |
A new post or comment appeared in your inbox. This can be for example when someone @mentions you. |
| Post created ↓ | post_created |
A new post has been created in Jollor |
| Post published ↓ | post_published |
A post has been published on social media through Jollor |
| Direct message received ↓ | message_received |
A private message has been delivered to your connected profile |
| Direct message created ↓ | message_created |
A direct message has been created in Jollor |
| Direct message sent ↓ | message_sent |
A direct message has been sent from Jollor |
| Access token expired ↓ | token_expired |
A connection to social profile has been invalidated, i.e., a password has been changed in Facebook |
| Dialogue Started ↓ | dialogue_started |
A dialogue has been started |
| Dialogue Ended ↓ | dialogue_ended |
A dialogue has ended |
Webhook payloads
Post Received
{
    "event_type": "post_received",
    "post_id": <post_id>,
    "project_id": <project_id>,
}
Post Created
{
    "event_type": "post_created",
    "post_id": <post_id>,
    "project_id": <project_id>,
}
Post Published
{
    "event_type": "post_published",
    "post_id": <post_id>,
    "project_id": <project_id>,
}
Direct Message Received
{
    "event_type": "message_received",
    "message_id": <message_id>,
    "conversation_id": <conversation_id>,
    "project_id": <project_id>,
}
Direct Message Created
{
    "event_type": "message_created",
    "message_id": <message_id>,
    "conversation_id": <conversation_id>,
    "project_id": <project_id>,
}
Direct Message Sent
{
    "event_type": "message_sent",
    "message_id": <message_id>,
    "conversation_id": <conversation_id>,
    "project_id": <project_id>,
}
Access Token Expired
{
    "event_type": "token_expired",
    "project_id": <project_id>,
}
Dialogue Started
{
    "event_type": "dialogue_started",
    "project_id": <project_id>,
    "conversation_id": <conversation_id>,
    "dialogue_id": <dialogue_id>,
    "date": <date>

}
Dialogue Ended
{
    "event_type": "dialogue_ended",
    "project_id": <project_id>,
    "conversation_id": <conversation_id>,
    "dialogue_id": <dialogue_id>,
    "date": <date>
}